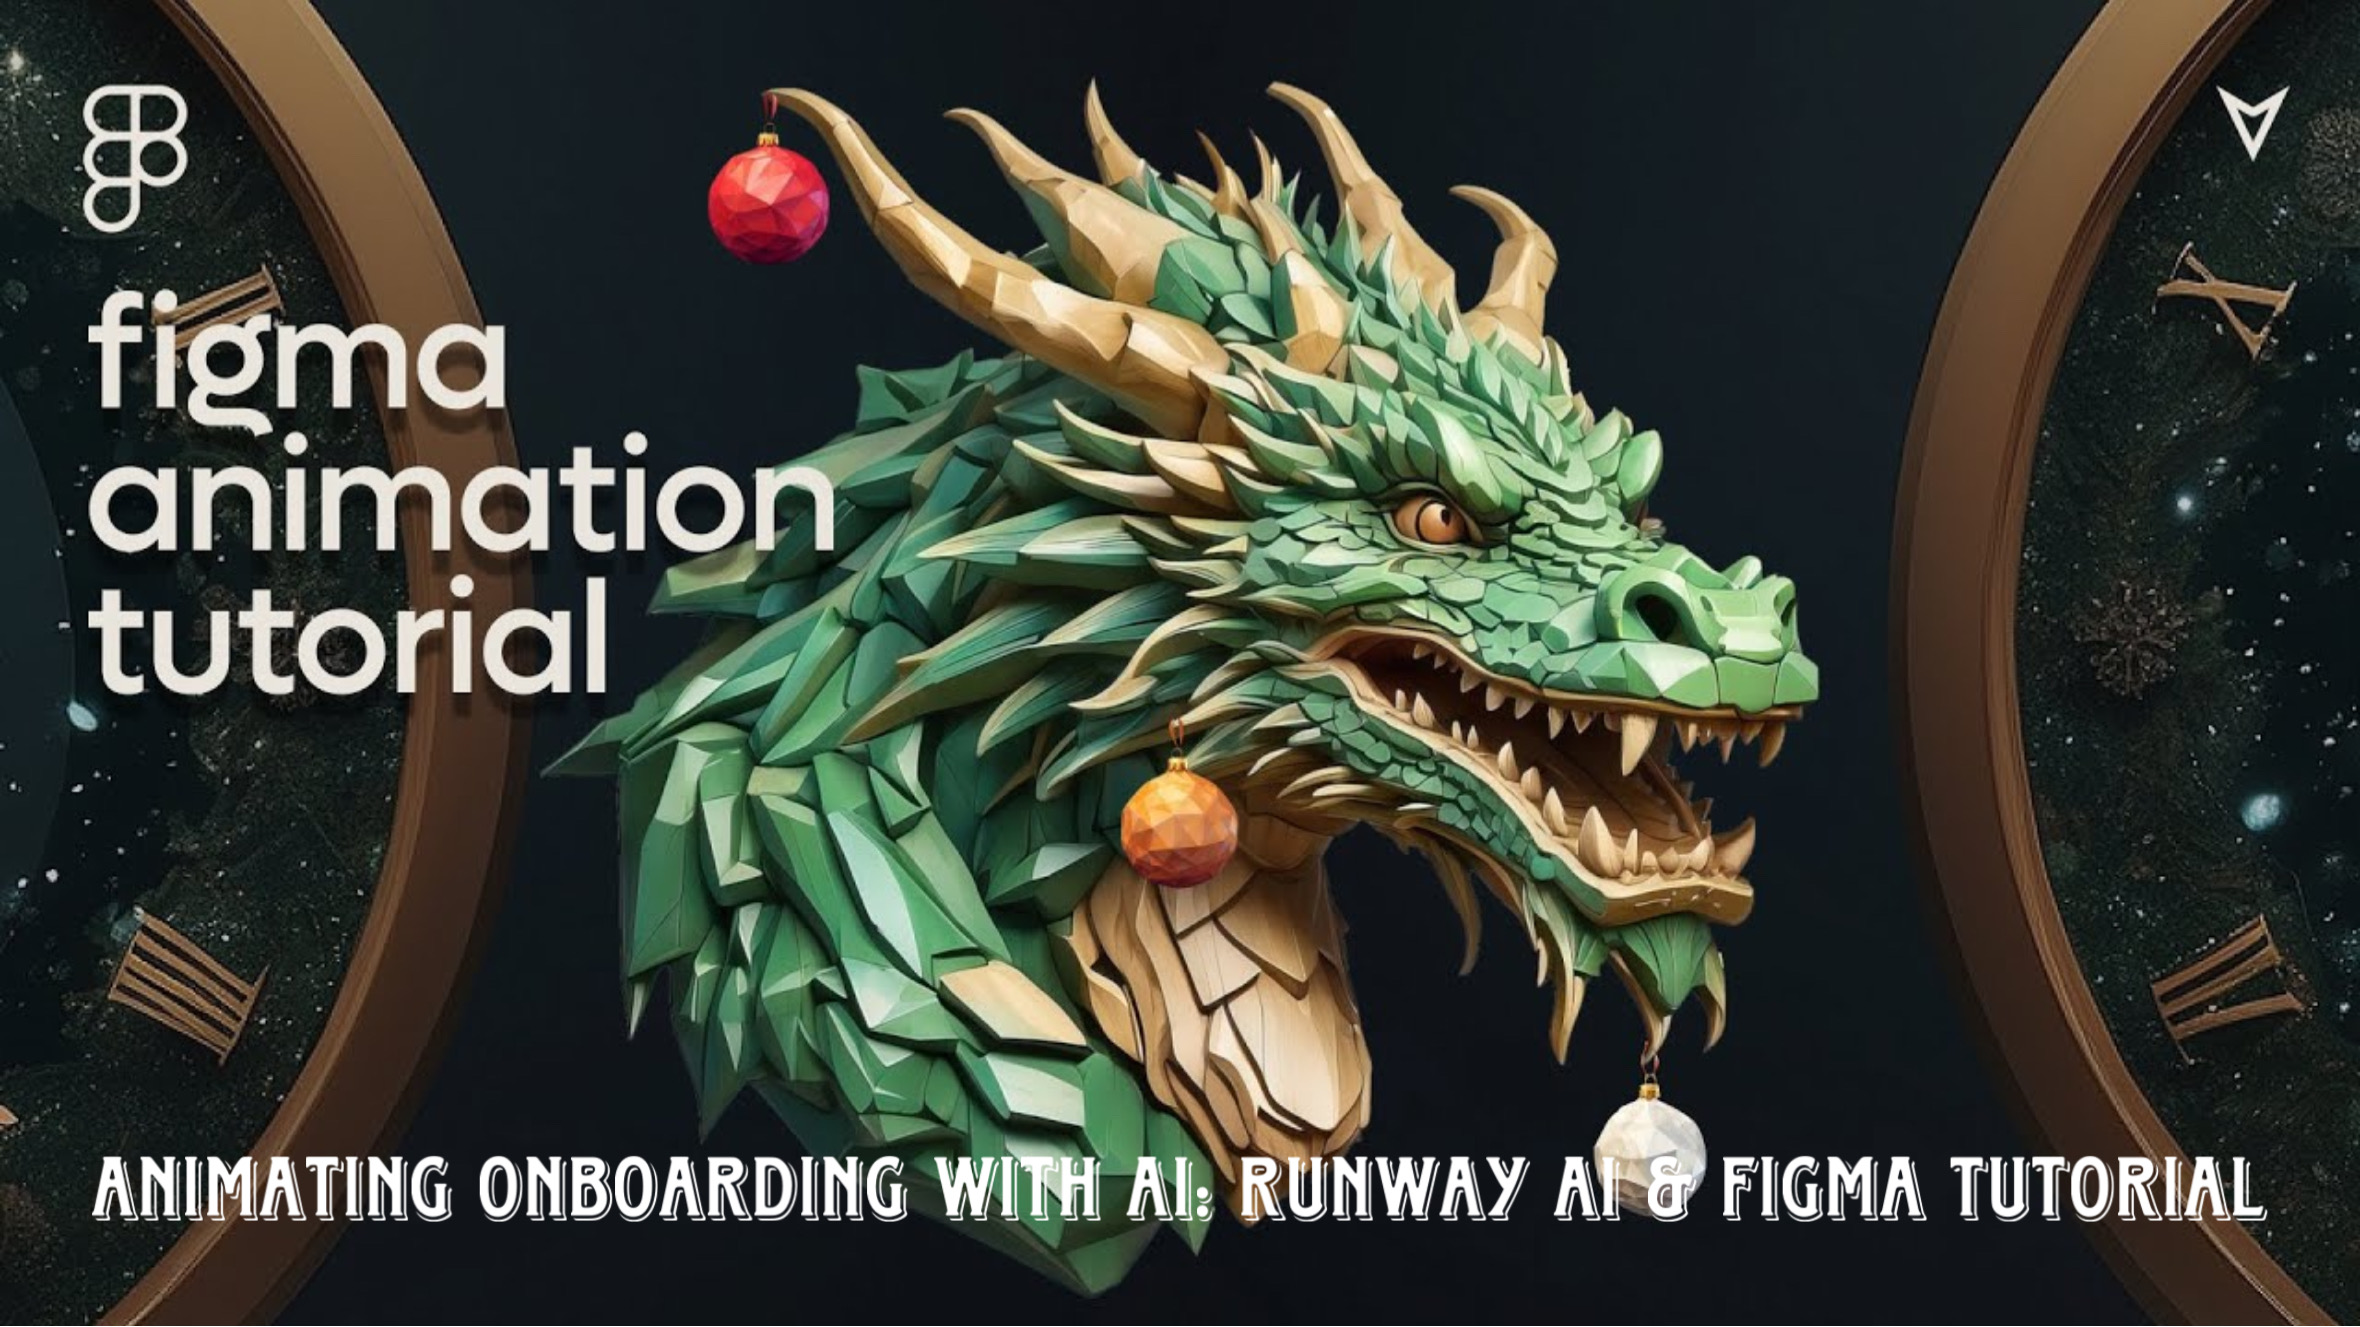
In this tutorial, we’ll explore how to elevate your app’s onboarding experience by incorporating animated imagery generated with Runway AI, and then seamlessly integrating it into a Figma prototype. We’ll be focusing on a hiking app, but these techniques can be applied to various projects.
1. Generating Images with Ideogram
- Prompt Engineering: Start by crafting a detailed prompt for your desired image. For this project, we’re aiming for hiking-themed visuals.
- Ideogram Setup:
- Paste your prompt into Ideogram.
- Disable “Magic Prompt” to retain control over the generation.
- Set the aspect ratio to 10:15 for mobile compatibility.
- Generate multiple images, ensuring they maintain a consistent style.
- Image Selection: Choose three images that align with your app’s aesthetic.
2. Figma Setup and Design
- Frame Creation:
- Use the frame tool (F) to create an iPhone 16 Pro frame.
- Place your first generated image within the frame, aligning it to the top and center.
- Add a status bar and stretch it to match the frame’s width.
- Text and Navigation:
- Use the text tool (T) to add onboarding text, utilizing a font like “Manrope.”
- Create a progress indicator using rectangles and circles within an Auto Layout frame (Shift + A).
- Design a “Next” button with a chevron icon and a linear gradient fill.
- Assemble the text, progress indicator, and button into a cohesive navigation element.
- Layout and Styling:
- Group the navigation elements and position them at the bottom of the frame.
- Add a home indicator for user-friendliness.
- Adjust padding and spacing for optimal visual appeal.
3. Animating Images with Runway AI
- Runway AI Introduction: Runway AI is a powerful tool for generating and editing videos and animations.
- Video Generation:
- Upload your generated image to Runway AI.
- Describe the desired animation (e.g., “a man riding a bike on a mountain trail”).
- Select the “Gen-3 Alpha Turbo” model for efficient generation.
- Set the video duration (e.g., 5 seconds) and aspect ratio (portrait).
- Generate the video.
- Keyframing (Optional):
- Experiment with keyframing by adding multiple images of the same style to create more complex animations.
- It is important that if you use multiple images that they are very similar.
- Download and Import: Download the generated video and import it into your Figma frame.
4. Figma Prototyping
- Video Integration:
- Resize the imported video to fit the frame’s width.
- Replace the static image with the video.
- Preview the prototype to view the animated onboarding.
- Prototype Refinement:
- To see the full prototype, it is best to use figma’s prototype play button.
Key Takeaways
- AI tools like Ideogram and Runway AI can significantly enhance the visual appeal of your app designs.
- Consistent image styles are crucial for seamless animation.
- Figma’s prototyping capabilities allow for easy integration of animated content.
- Runway AI’s Gen 3 Alpha prompting guide can help you create better videos.
Additional Notes
- Consider exploring Runway AI’s help center for advanced features and techniques.
- Experiment with different prompts and settings to achieve your desired animation effects.
- Dreamcut is another option for video generation, but is not currently publicly available.
- For a more comprehensive tutorial, consider exploring online design courses.
By combining the power of AI-generated imagery and Figma’s prototyping tools, you can create engaging and immersive onboarding experiences that captivate your users.
This page has 64 views.