If you want to self-host a powerful AI interface, Open Web UI is an excellent option. Think of it as ChatGPT, but where you call the shots. Open Web UI provides an intuitive, open-source web interface that lets you interact with local AI models like Ama or connect to cloud-based models like ChatGPT, Claude, Gemini, or Groq.
In this guide, we’ll walk you through how to install Open Web UI on Prem, focusing on setting up the web interface using Docker.
Prerequisites
Before you begin, you’ll need:
- ✅ Linux (This can be a Linux server, WSL on Windows, macOS, or even a Raspberry Pi)
- ✅ Docker and Docker Compose installed (Refer to this guide for setup instructions)
Step 1: Set Up Your Linux Environment
Since Open Web UI is a web interface, you’ll need a Linux-based environment to run it. If you’re using Windows, you can use WSL (Windows Subsystem for Linux).
To launch your Linux instance:
- Windows users – Open Ubuntu WSL.
- Mac/Linux users – Open your Terminal.
Now, we’re ready to install Open Web UI using Docker.
Step 2: Create a Docker Setup for Open Web UI
We’ll use Docker Compose to install Open Web UI. Follow these steps:
1️⃣ Create a new directory for Open Web UI:
mkdir open-webui && cd open-webui2️⃣ Create a Docker Compose file:
nano docker-compose.yml3️⃣ Paste the following configuration:
version: '3'
services:
  openwebui:
    image: openwebui/open-webui
    container_name: open-webui
    ports:
      - "3000:8080"
    volumes:
      - openwebui_data:/app/backend/data
volumes:
  openwebui_data:
💡 Explanation of this configuration:
- ✅ Pulls the Open Web UI image
- ✅ Maps a volume to store your settings
- ✅ Exposes Open Web UI on port 3000
4️⃣ Save the file
(In Nano, press CTRL + X, then Y, and hit ENTER).
Step 3: Start Open Web UI
Now, let’s launch the Open Web UI container. Run:
docker compose up -d🚀 This will start Open Web UI in detached mode.
To confirm it’s running, check active containers:
docker psIf it’s running, you’re good to go! If you see an error saying port is already allocated, stop the conflicting process and restart Open Web UI.
Step 4: Access Open Web UI
Once running, open your browser and navigate to:
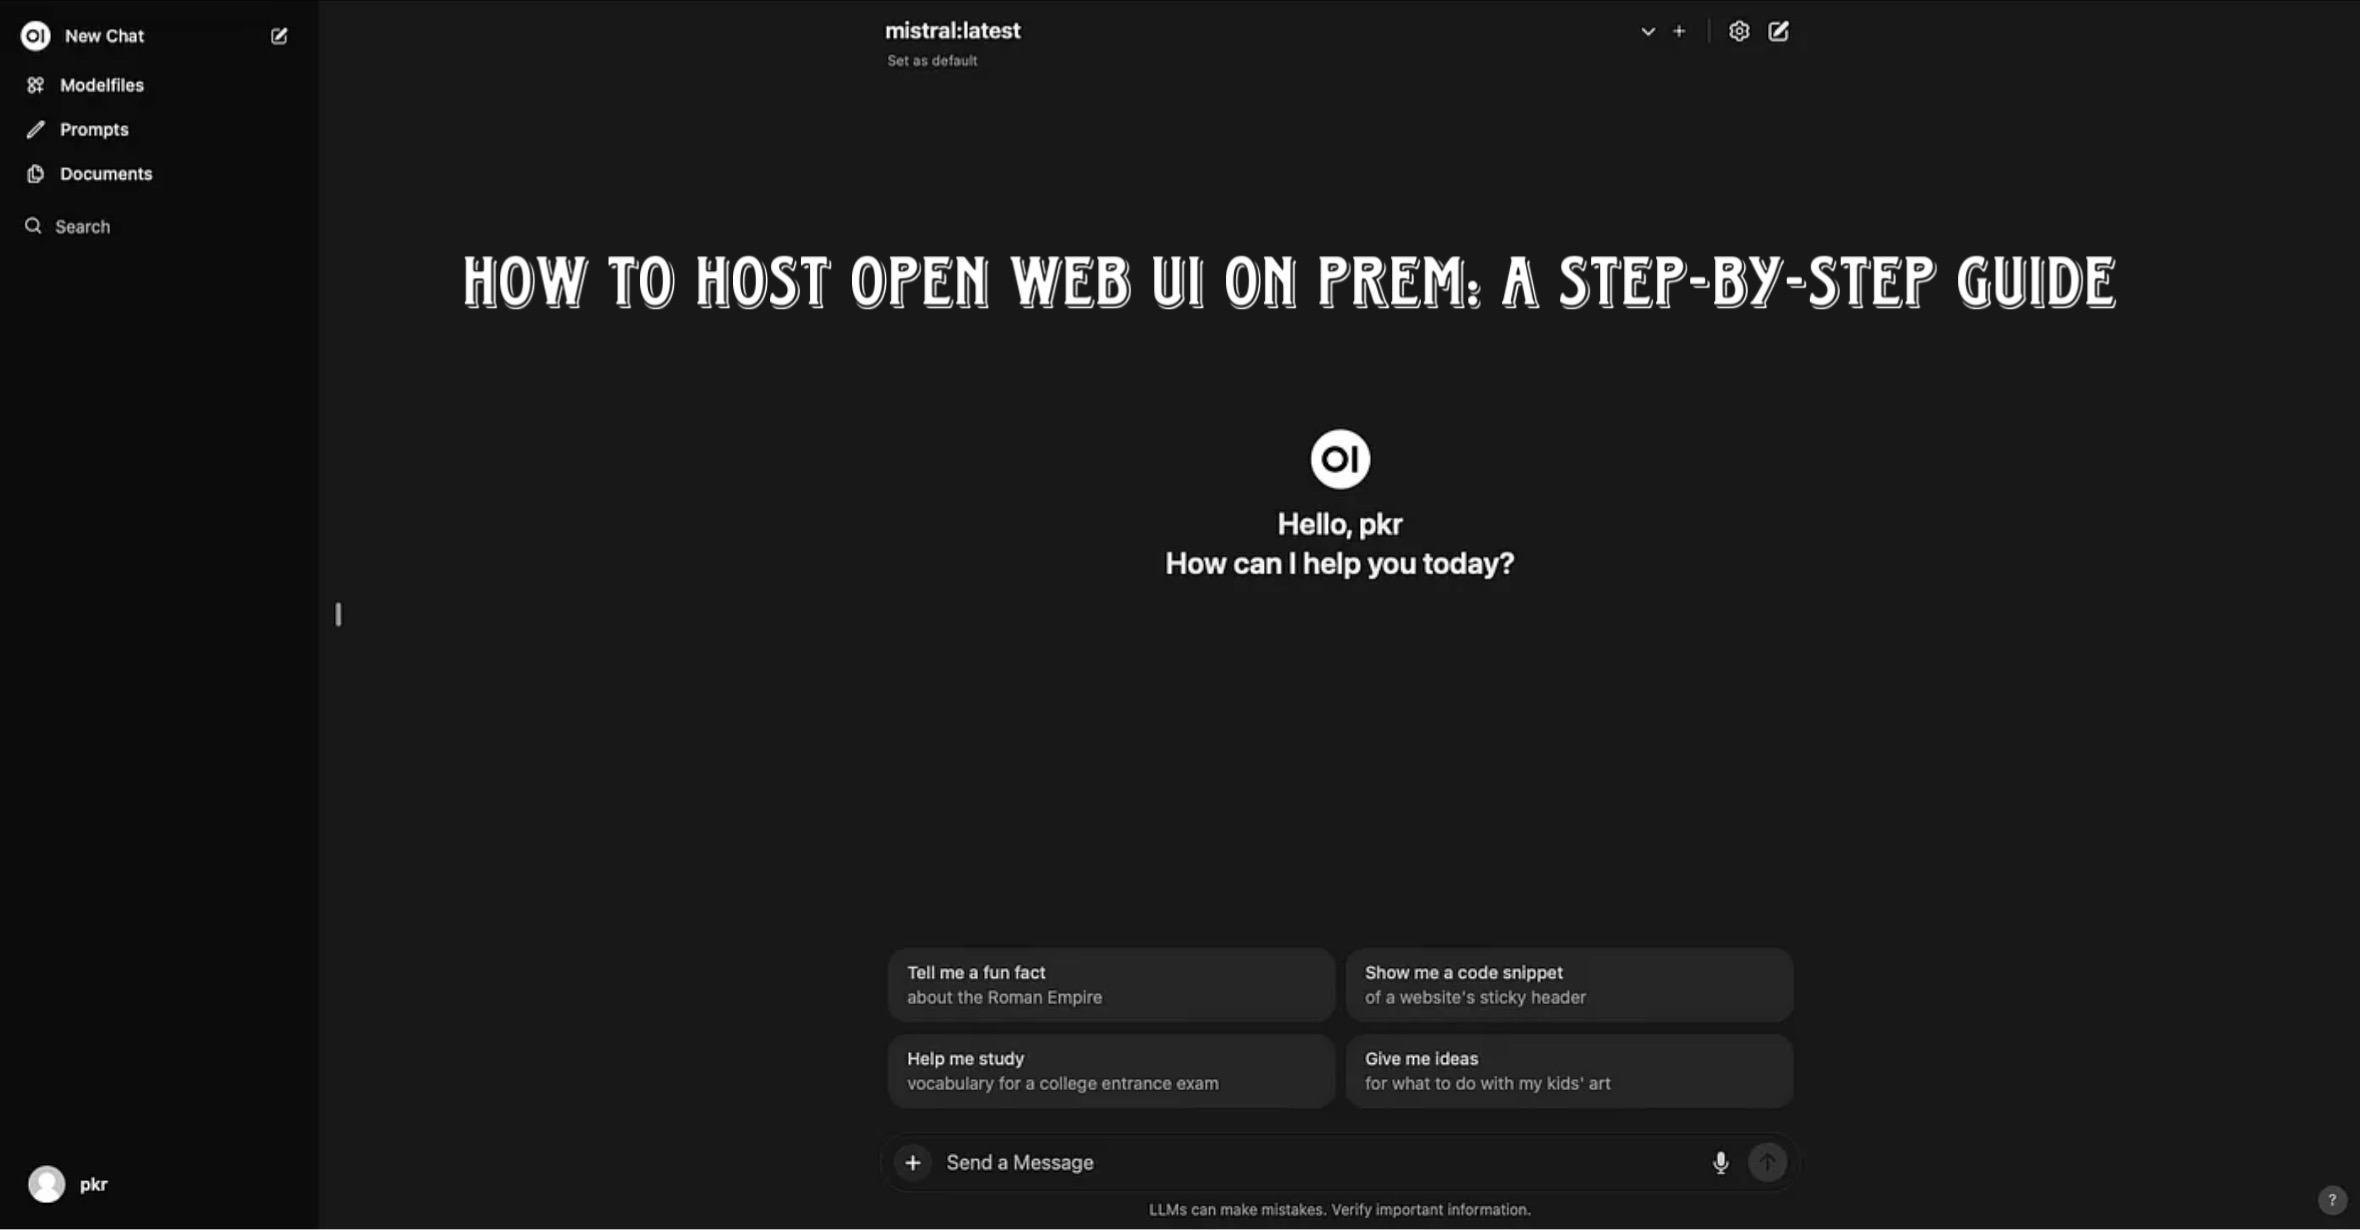
You should see the Open Web UI login page. 🎉
Step 5: Configure AI Models in Open Web UI
At this point, you have the Open Web UI interface, but no AI models connected yet. Here’s how to add them:
- Click Settings (top-right corner).
- Go to Admin Settings > Connections.
- Add your preferred AI models:
- Local models like Ama (self-hosted AI models).
- Cloud models like ChatGPT, Claude, Gemini, or Groq.
Final Thoughts
🚀 Open Web UI is an excellent way to host your own AI interface while giving you full control over models and integrations.
🔌 You can run local AI models or connect to cloud-based AI services for even greater flexibility.
🔧 Using Docker makes setup fast and scalable, allowing you to deploy Open Web UI on a lightweight server.
Want to learn how to connect models? Check out our detailed guide on integrating AI models into Open Web UI.
💡 Subscribe to stay updated on more AI self-hosting guides! 🚀