Imagine an AI code editor that can directly interact with your browser, fetching selected elements, console logs, and even screenshots. That’s the power of Cursor AI combined with mCP (Meta-Control Protocol) server, and in this tutorial, we’ll show you how to set it up.
What is mCP and How Does it Work?
mCP acts as a bridge between your Cursor AI editor and your browser. It allows Cursor to execute commands within your browser, eliminating the need for manual copy-pasting of error logs, screenshots, or selected elements.
Setting Up Cursor AI with Browser Integration
Here’s a step-by-step guide to get you started:
- Install Cursor AI:If you haven’t already, download and install Cursor AI from its official website.
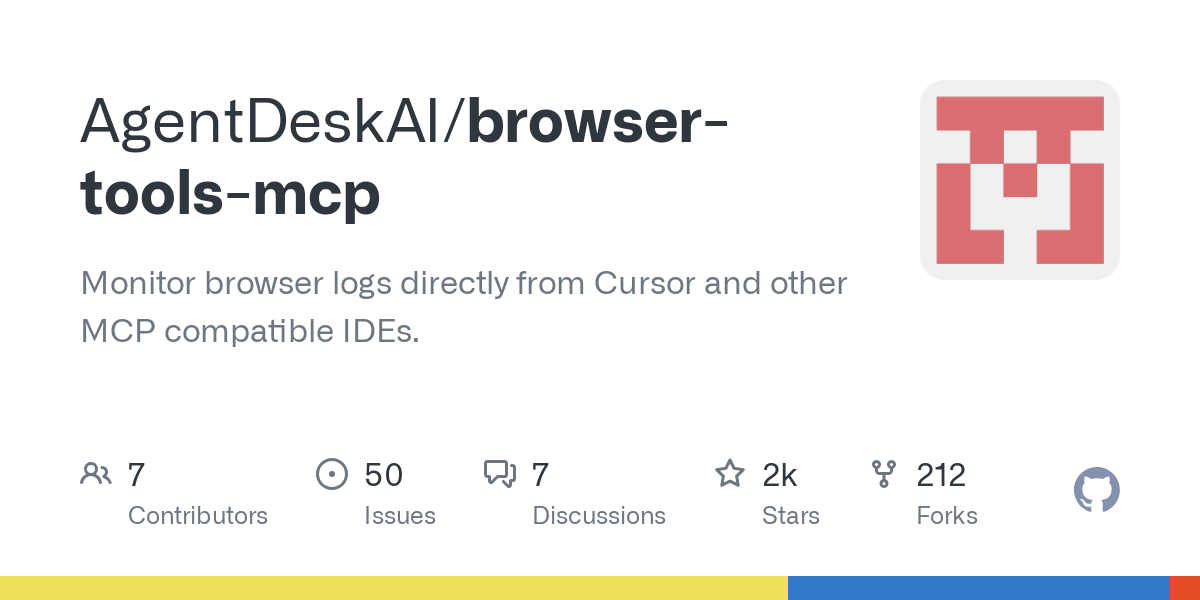
- Clone the Browser Tools mCP Repository:Open your terminal and execute the following command:
bash

git clone browser-tools-mcp
- Install the Chrome Extension:
- Open Chrome and navigate to
chrome://extensions/. - Enable “Developer mode” in the top right corner.
- Click “Load unpacked” and select the
chrome-extensionfolder located within the clonedbrowser-tools-mcprepository. - Verify that the “Browser Tools mCP” extension is installed and enabled.
- Open Chrome and navigate to
- Configure Cursor AI Settings:
- Open Cursor AI and go to “Cursor Settings.”
- Navigate to “Features” and then “mCP Servers.”
- Click “Add new mCP servers.”
- Give it a name (e.g., “Browser Tools”).
- Select “Command” as the server type.
- Add the necessary command (this will be provided in the repository’s documentation).
- Click “Add.”
- Run the Browser Tools Server:In your terminal, navigate to the cloned repository’s directory.
Execute the following command:
bash

npx @agents-ai/browser-tools-server
Ensure Node.js is installed on your system (nodejs.org).
Verify that the Chrome extension is connected via WebSocket.
Using the Integrated Tools
Once set up, you can leverage the following tools within Cursor AI:
- Get Console Logs: Retrieve console logs directly from your browser.
- Get Console Errors: Fetch error logs for debugging.
- Network Errors & Logs: Access network-related information.
- Take Screenshots: Capture screenshots of your current browser page.
- Get Selected Element: Retrieve the HTML code of the currently selected element in your browser.
- Wipe Logs: Clear the console logs.
Examples:
- To get console logs, simply type “get me the logs from the console” and press enter.
- To take a screenshot and analyze it, type “get a screenshot of my current page and analyze.”
- To modify a selected element, select it in your browser, then type “modify my selected element with [your text]” in Cursor AI.
Benefits:
- Streamlined debugging workflow.
- Reduced manual effort in copying and pasting data.
- Enhanced productivity during development.
- Direct browser interaction from your code editor.
Conclusion:
Integrating Cursor AI with your browser through mCP opens up a new realm of possibilities for efficient web development. By automating tasks and providing direct access to browser data, you can significantly accelerate your workflow and focus on building amazing applications.
Further Exploration:
Refer to the Cursor AI and Browser Tools mCP documentation for more advanced features and customization options.
For a beginners guide to Cursor AI, please view the video linked in the original transcript.
Leave a comment with your thoughts and experiences using this powerful integration.