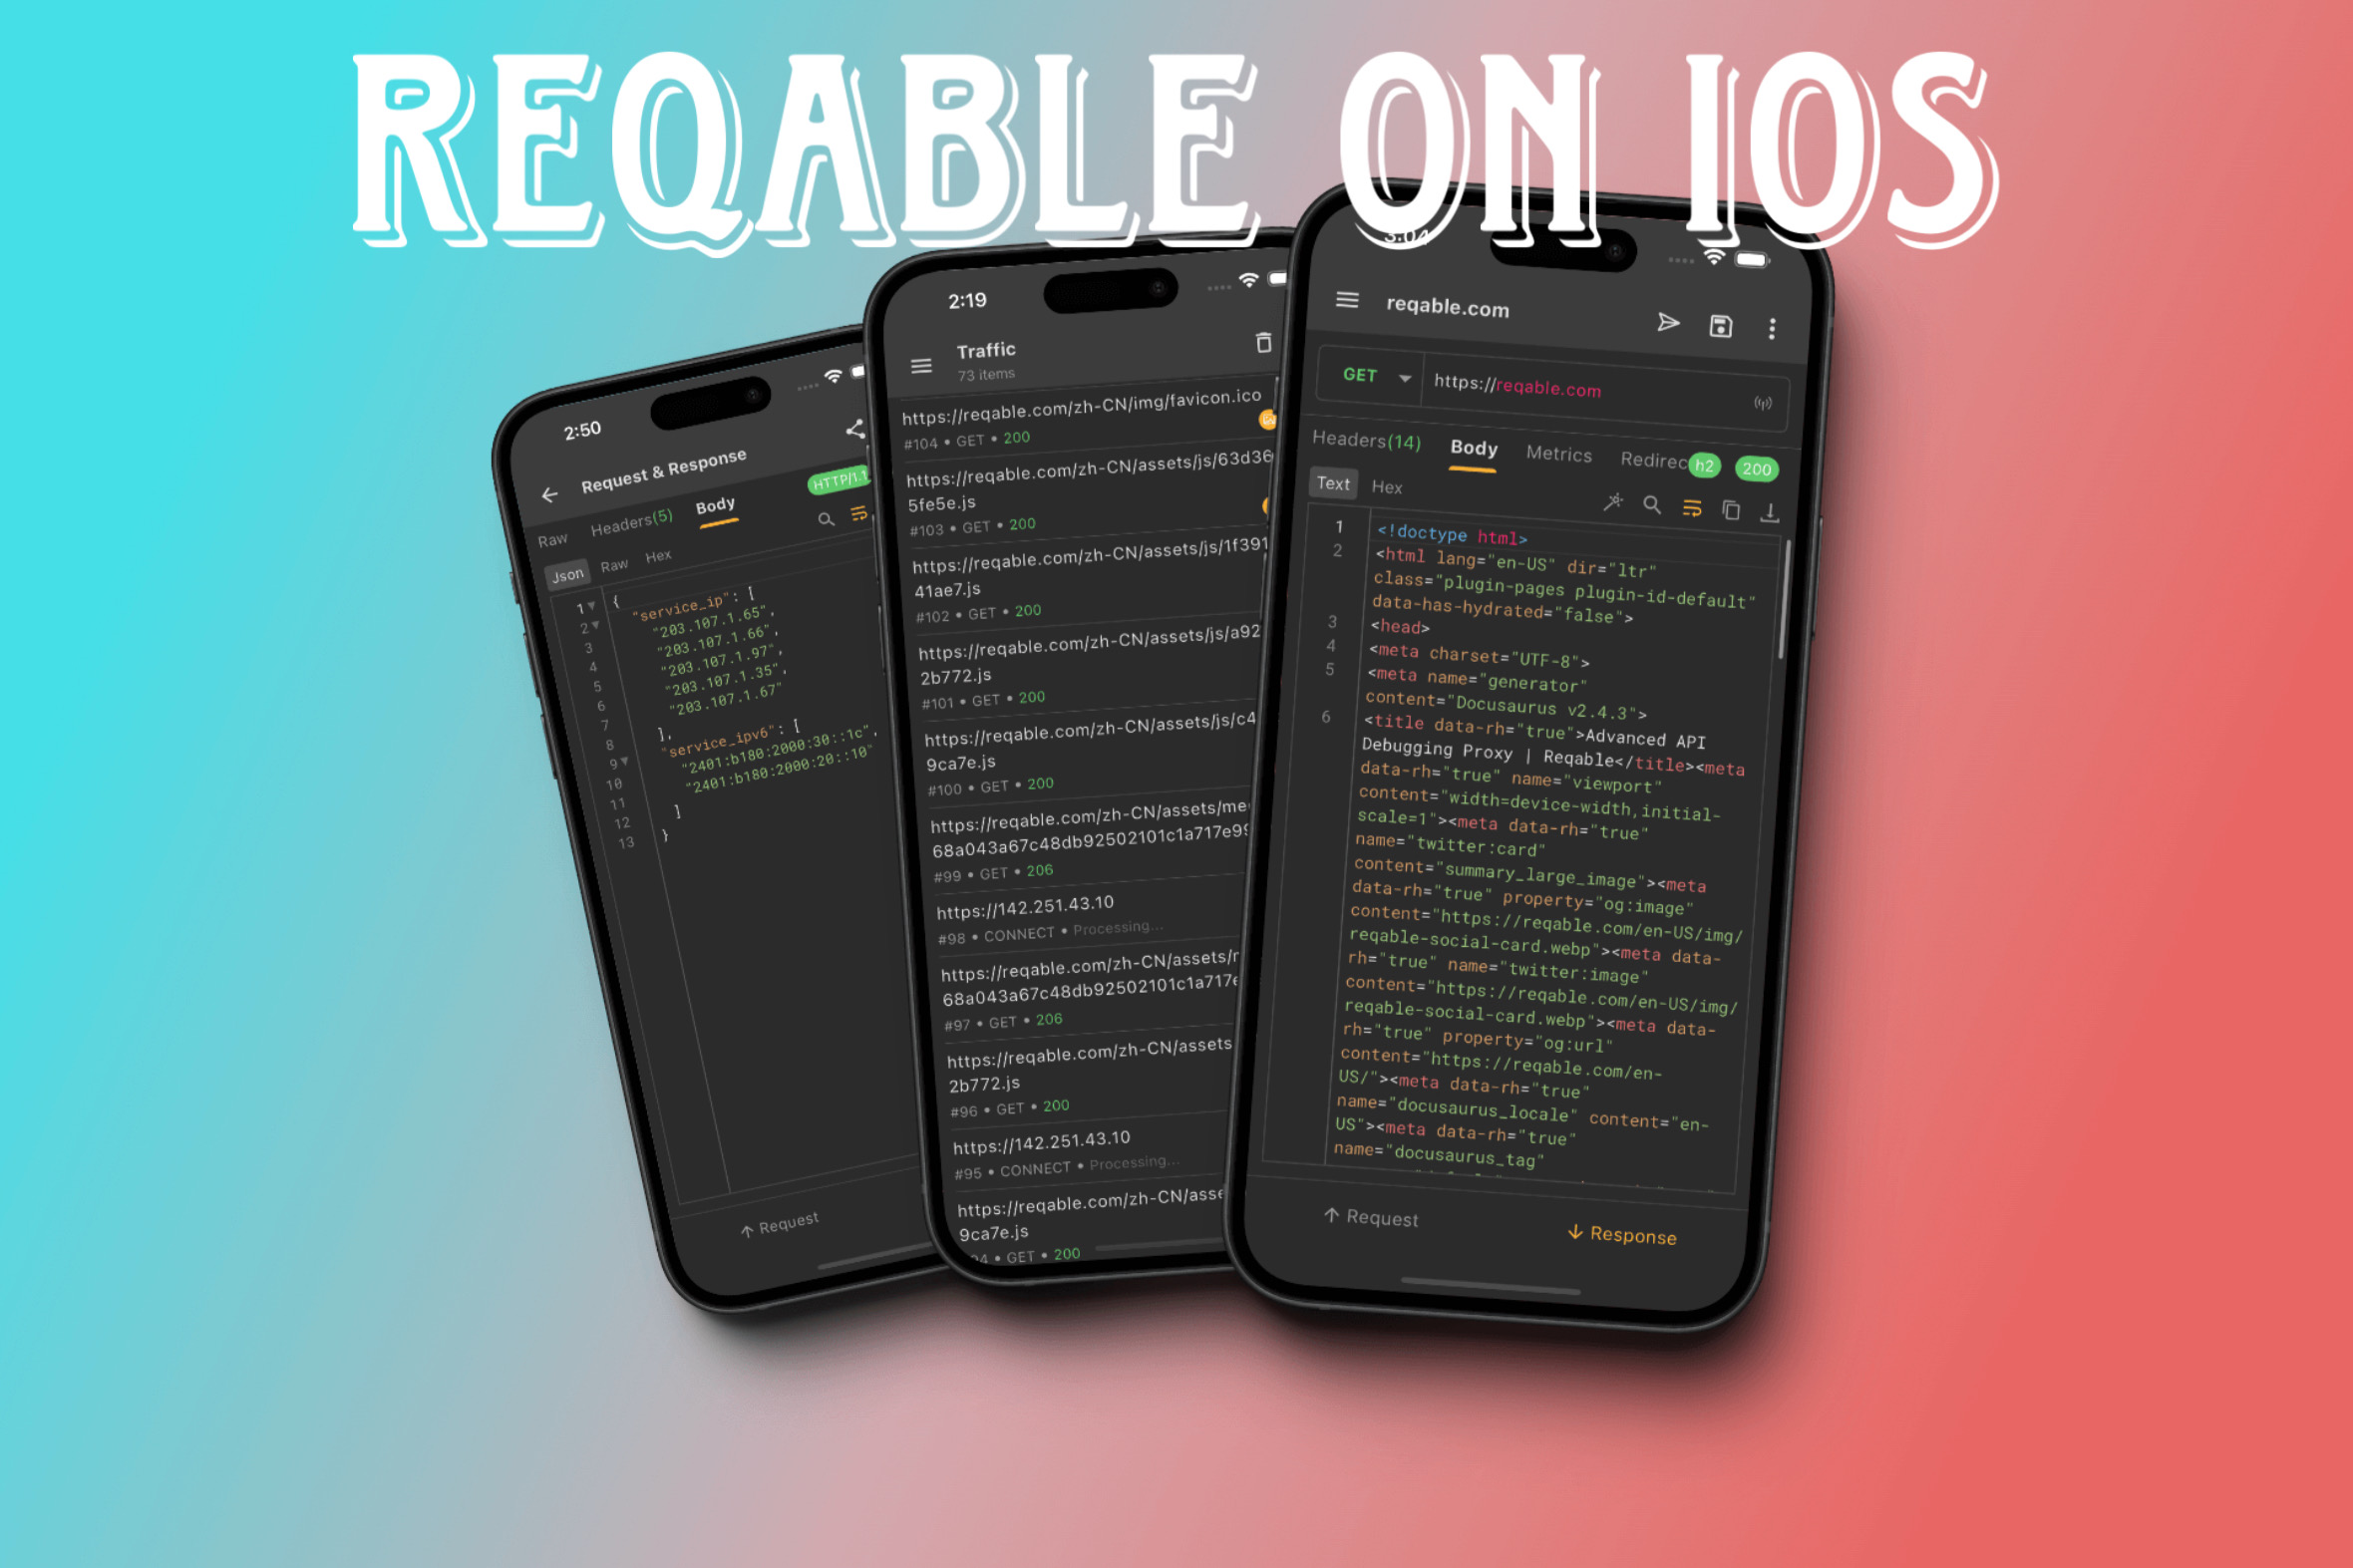
Reqable is a comprehensive API debugging proxy and REST client available on iOS. It enables inspection and testing of HTTP/HTTPS traffic directly on your mobile device, providing features such as request/response viewing, filtering, replay, and scripting. Below is a step-by-step guide to installing, configuring, and using Reqable on an iOS device.
Installation and Requirements
App Store Download: Search for “Reqable” on the App Store and install it. It requires iOS 12.0 or later and runs on both iPhone and iPad.
App Permissions: Because Reqable uses a local VPN or proxy under the hood, it will prompt you to allow VPN configurations. Be prepared to grant these permissions when first launching the app.
Launching Reqable and Basic Workflow
Open Reqable: Tap the Reqable icon. On first launch, the app will display an overview of its features—API testing, traffic capture, environments, etc.
Standalone vs. Collaboration Mode:
Standalone Mode: Reqable captures and displays traffic entirely within the mobile app, without requiring a desktop. This is useful for quick checks or when you’re away from your computer.
Collaboration Mode: If you have Reqable running on a desktop (Windows/macOS/Linux), you can synchronize the mobile app with the desktop app. In this mode, the mobile app functions as a VPN client that forwards all traffic to the desktop, where it’s captured and analyzed. This mode requires the desktop’s IP and port, which you can scan via QR code or enter manually.
Installing and Trusting the CA Certificate
To intercept HTTPS traffic, Reqable installs its own CA certificate onto the iOS device so that decrypted data can be inspected. Follow these steps:
Open Certificate Management
In the Reqable mobile app sidebar (tap the “hamburger” or swipe from the left), select Certificate Management.
Download the Root Certificate
Tap Install Root Certificate. This will redirect you to Safari (or your default browser) to download a configuration profile (a “.mobileconfig” file).
Install the Profile
When Safari prompts “This website is trying to download a configuration profile,” tap Allow.
Go to Settings > Profile Downloaded (or Settings > General > VPN & Device Management on newer iOS versions).
Tap the downloaded Reqable CA certificate profile, then tap Install twice (enter your device passcode if prompted), and finally Done.
Trust the Certificate
Navigate to Settings > General > About > Certificate Trust Settings.
Under “Enable full trust for root certificates,” toggle Reqable Root CA to ON, then confirm Trust.
Once trusted, Reqable will display a green “Certificate Installed” indicator in its Certificate Management screen.
Selecting Record Mode (VPN vs. Proxy)
Reqable supports two primary methods for intercepting traffic on iOS: VPN mode and Proxy mode. Choose one based on your needs.
VPN Mode (Recommended for most apps):
In Reqable’s main UI, tap the Record Mode selector (often a dropdown under the “Capture” toggle) and choose VPN.
When you first engage VPN mode, iOS will prompt ““”“Reqable” would like to add VPN configurations.” Tap Allow, then confirm by tapping Allow again. You’ll see a VPN icon in the status bar when it’s active.
With VPN active, all app traffic (including those that don’t respect system proxy settings) is routed through Reqable’s local VPN tunnel.
If you ever cannot see HTTP(S) traffic in Reqable while using VPN, verify that:
- The Capture button is toggled ON.
- Record Mode is set to VPN.
- No filtering rules exclude the target app/domain.
- No other VPN/proxy app is active (e.g., Clash) that might conflict.
Proxy Mode (Useful when capturing only web traffic or when you manually configure a proxy in a specific app):
In Reqable’s Record Mode selector, switch to Proxy.
Reqable will automatically configure the system’s HTTP proxy for the Wi-Fi network you’re on, pointing to 127.0.0.1:9000 by default (or whatever port Reqable reports). A proxy icon appears in the QuickBar at the top.
To verify, go to Settings > Wi-Fi > [Your Network] > HTTP Proxy and confirm it’s set to “Auto” or “Manual” with the correct host/port (Reqable handles this automatically in most cases).
If an app doesn’t use iOS’s system proxy settings, you may need to configure a proxy manually in that app (if supported), or use tools like Proxifier on a desktop in Collaboration Mode to force traffic through Reqable.
Capturing Traffic
Enable Capture: In Reqable, tap the Start/Stop button (a circular icon in the QuickBar). When green, capture is active.
Generate Traffic: Open Safari or any app whose network calls you want to inspect. For example, navigate to https://www.google.com.
Inspect Traffic: Return to Reqable. Captured HTTP requests (GET, POST, CONNECT, etc.) appear in the Traffic List. Tap any entry to view details (headers, body, response, timing, etc.). You can switch between viewers (JSON Viewer, Hex Viewer, Image Viewer, etc.).
Filtering & Search: Use the filter icon in the toolbar to narrow by domain, method, status code, or keywords. Bookmarks and multi-condition searches help you locate specific entries quickly.
API Testing and Replaying Requests
Compose from cURL or Traffic: Tap the “+” button in the API Testing tab to create a new request. You can import a cURL snippet or drag an existing captured request into the editor.
Edit Parameters: Modify query parameters, headers, or body content. Switch between raw text, JSON, XML, or form-data modes.
Send & View Responses: Hit Send. The response pane displays status, headers, and body (with JSON syntax highlighting). You can compare diff results if multiple runs are performed.
Environment Variables: Define variables (e.g., {{base_url}}, {{token}}) in Environments for dynamic testing across staging or production.
Repeat / Advanced Repeat: Long-press a captured request and choose Repeat to resend it. For automated loops or a series of tests, use Advanced Repeat options (iterations, randomization, etc.).
Reverse Proxy (Advanced Use-Case)
If an app’s network stack doesn’t support system proxy settings, you can use Reqable’s Reverse Proxy feature:
In Reqable’s Capture sidebar, select Reverse Proxy.
Enter a Local Port (e.g., 9001) and the Remote Address (e.g., api.example.com:443).
In your app’s code (or configuration), replace calls to https://api.example.com with http://<your-iOS-device-IP>:9001.
Reqable will host a local server on port 9001, forward traffic to api.example.com, and capture it along the way. This avoids needing to install a CA certificate in some cases—since traffic to localhost:9001 is unencrypted—but costs extra latency and won’t capture WebSockets.
Working with Reqable Desktop (Collaboration Mode)
If you prefer analyzing traffic on a larger screen:
Install Reqable Desktop: Download and install the latest Reqable release for Windows/macOS/Linux from reqable.com.
Sync Mobile & Desktop:
On desktop, open Reqable and enable Collaboration. A QR code appears (showing desktop IP/port).
In the Reqable mobile app, go to Remote Devices, tap the “+” icon, and scan the QR code or manually enter IP:port.
After pairing, the mobile app will automatically push its Root CA certificate to the desktop. Still, you must install/trust it on the iOS device (as described above).
Forwarding Traffic: Start capture on mobile. Mobile traffic is tunneled via VPN to desktop. Inspect and manipulate traffic on desktop (breakpoints, scripting, rich filters), then send modified responses back to the mobile app.
Troubleshooting Common Issues
No Traffic Seen:
- Confirm that Record Mode matches your intended method (VPN or Proxy).
- Make sure the CA certificate is both installed and trusted (green status under Certificate Management).
- If using VPN mode, verify no other VPN/proxy app is active. Toggle Reqable’s VPN off and on again.
- If using Proxy mode, check Settings > Wi-Fi > [Network] > HTTP Proxy to ensure Reqable’s proxy (127.0.0.1:9000) is active.
Certificate Errors:
- Reinstall the CA certificate and double-check Trust under Certificate Trust Settings.
- If you updated Reqable recently, download and install the new certificate from Certificate Management again.
Apps That Bypass System Proxy: Native apps built on certain network stacks (e.g., Firebase, some WebSocket libraries) may not obey iOS’s HTTP proxy. Use VPN mode for broader coverage. If that fails, consider Reverse Proxy for code-level redirection or Collaboration+Proxifier on desktop.
Key Version Notes
As of v2.30.4 (released January 10, 2025), Reqable iOS added secondary-proxy support for both SOCKS and VPN modes and allowed remote control of recording status from the desktop app.
Always update to the latest version to benefit from bug fixes (e.g., handling HTTP/2 better, improved UI margins, etc.).
Web-Proxy Tools on iOS (General Guide)
Besides Reqable, you may want to know how to configure and use other web-proxy or HTTP-capture solutions on iOS. Below is an overview of built-in settings and popular alternatives.
iOS Wi-Fi Proxy Settings
iOS allows setting an HTTP (or HTTPS) proxy for each Wi-Fi network. Many desktop proxies (Charles, Proxyman) rely on this.
Connect to Wi-Fi: Ensure your iPhone/iPad is on the same local network as the desktop running the proxy tool.
Identify Desktop IP & Port: In your proxy tool (e.g., Charles), note the computer’s LAN IP (e.g., 192.168.1.100) and the proxy listening port (often 8888).
On iOS:
Open Settings > Wi-Fi.
Tap the “ℹ️” icon next to your connected network.
Scroll to HTTP Proxy at the bottom. Select Manual.
Enter Server = 192.168.1.100 (desktop IP) and Port = 8888.
If your proxy requires authentication, toggle Authentication and enter credentials.
Leave Server and Port blank (or toggle Off) when you finish testing.
Charles Proxy (Desktop) + iOS Configuration
Charles Proxy is a well-known HTTP(S) debugging proxy for macOS/Windows/Linux. Although it has no native iOS app, you can capture iOS traffic by pointing the device’s Wi-Fi proxy to Charles.
Install Charles Desktop: Download from charlesproxy.com and run it.
Find Charles Proxy IP & Port:
In Charles, go to Proxy > Proxy Settings to view the “HTTP Proxy” port (default 8888).
Under Help > Local IP Address, note your Mac/PC’s LAN IP.
Configure iOS Wi-Fi Proxy: As above, set the device’s Wi-Fi proxy to the IP/Port of the Charles desktop.
Install Charles Root Certificate on iOS:
On iOS, open Safari and visit http://charlesproxy.com/getssl.
When prompted, tap Allow to download the Charles certificate profile.
Go to Settings > Profile Downloaded (or General > VPN & Device Management), tap the Charles profile, then Install.
Finally, trust the newly installed Charles Root CA under Settings > General > About > Certificate Trust Settings.
Capture & Inspect Traffic: With Charles running and the device’s proxy set, all HTTP(S) requests from iOS flow through Charles. View them in Charles’s session window, inspect headers, bodies, and even throttle bandwidth if needed.
Proxyman (Desktop) + iOS Configuration
Proxyman is another desktop application similar to Charles, available for macOS and Windows. The setup steps mirror Charles:
Install Proxyman Desktop and note the proxy port (default 9090) and your machine’s LAN IP.
On iOS Wi-Fi, set HTTP Proxy > Manual with Proxyman’s IP and port (e.g., 192.168.1.100:9090).
Install Proxyman CA: In Proxyman’s menu, choose Certificate > Install Certificate on iOS. Follow the on-screen instructions to download and trust the profile on your device.
Begin Capturing: Open any app or Safari; Proxyman will log requests, offer breakpoints, rewrite rules, and more.
HTTP Catch (iOS-Native App)
HTTP Catch is an iOS-only app that uses a local VPN to intercept traffic on your device—similar in concept to Reqable. It’s useful if you need a standalone solution without pairing to a desktop.
Install HTTP Catch from the App Store.
Launch & Install Certificate: Upon first use, it prompts you to download a profile. Install and trust it under Settings > General > About > Certificate Trust Settings.
Enable Capture: Toggle the capture switch; HTTP Catch will ask for VPN permission. Accept to start intercepting.
View Traffic: All HTTP(S) calls from your device appear in its interface. You can inspect headers, bodies, and replay requests.
Using Built-In iOS Proxy for Specific Apps
Some apps (e.g., internal enterprise apps) allow manual proxy configuration within their own settings:
Look for a “Proxy” or “Network” section inside the app’s preferences. Enter host (e.g., 127.0.0.1 if running a proxy on-device or local network IP) and port (e.g., 9000 for Reqable).
If the app doesn’t respect system proxy and no manual setting exists, your best bet is VPN-based capture (Reqable, HTTP Catch) or code-level changes (Reverse Proxy).
Key Comparisons & Tips
| Feature | Reqable (iOS) | Charles/Proxyman (Desktop + iOS Wi-Fi Proxy) | HTTP Catch (iOS) |
|---|---|---|---|
| Ease of Setup | Medium (requires CA install + VPN/Proxy mode selection) | Medium (desktop install + iOS Wi-Fi proxy + CA install) | Easy (app install + profile) |
| Standalone Capture | Yes (VPN mode) | No (requires desktop) | Yes (VPN mode) |
| Desktop Collaboration | Yes (desktop app integration) | N/A (desktop is primary) | No |
| API Testing / Replay | Yes (built-in request composer, scripting) | No (only traffic capture) | Limited (basic replay) |
| Reverse Proxy Support | Yes (local port → remote server forwarding) | No | No |
| Deep Filtering & Scripting | Yes (rich filters, scripts, breakpoints) | Yes (breakpoints, rewrite) | Basic |
| Cost | Free community edition; Professional editions available | Paid/non-freemium (trial) | Free/paid tiers (varies) |
If you need full-fledged API testing (editing parameters, environments, scripting), Reqable is preferable.
If you already use Charles or Proxyman on desktop, adding an iOS device to that workflow is straightforward via Wi-Fi proxy settings.
For quick, on-device capture without a desktop, HTTP Catch (or Reqable in standalone VPN mode) works well, though its testing capabilities are more limited than Reqable’s.
Summary of Steps for a Typical Reqable-Based Workflow
Install Reqable (App Store) → Install & trust CA certificate (Settings > Profile > Trust).
Choose Record Mode (VPN or Proxy) → Allow VPN if prompted.
Tap “Start” in the QuickBar (green state) → Generate traffic (e.g., open Safari).
Inspect captured requests in the Traffic List → Filter/search as needed.
Edit/replay requests in API Testing tab or use Reverse Proxy for apps that bypass system proxy.
(Optional) Pair with Reqable Desktop for larger-screen analysis: scan QR or enter IP:port.
By following the above steps and choosing the tool that best fits your workflow (standalone on-device, desktop-assisted, or simple on-device capture), you can effectively debug, analyze, and test HTTP/HTTPS traffic on iOS.