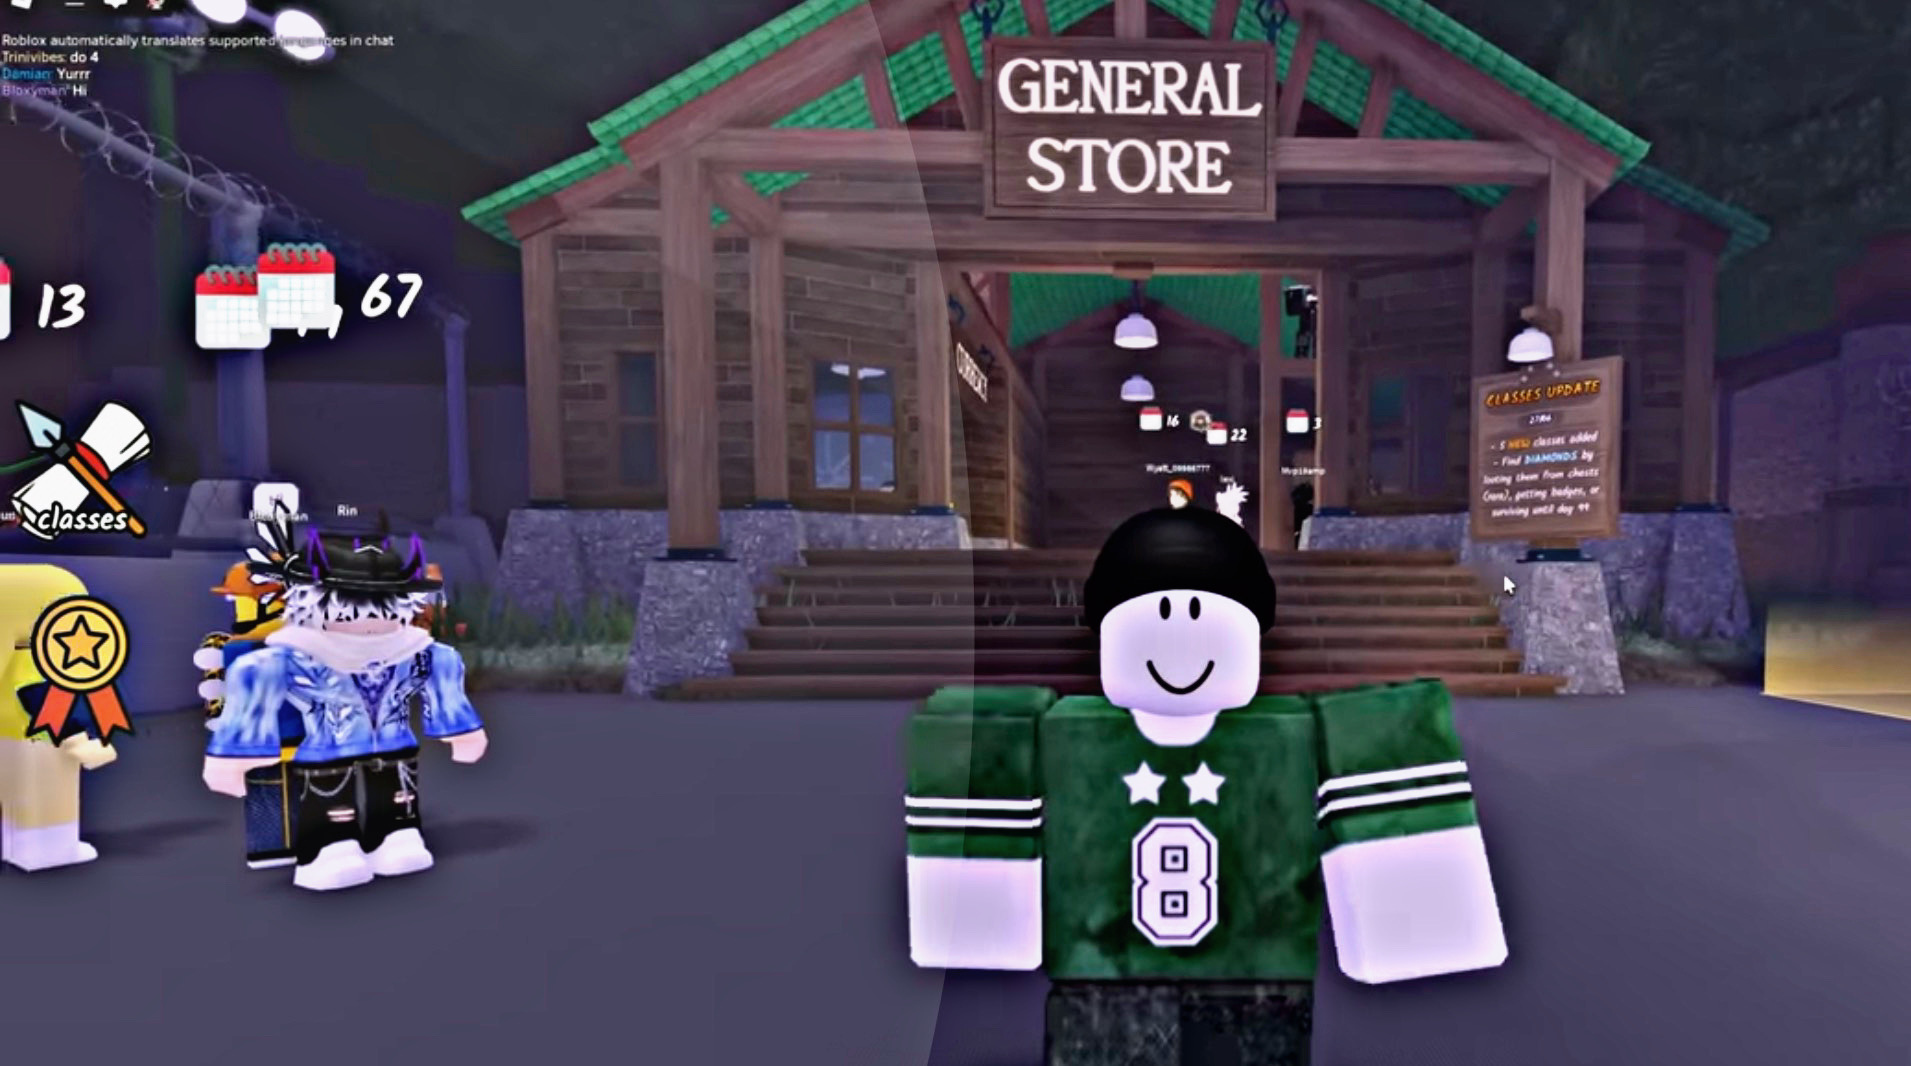
The hammer is one of the most important tools in 99 Nights in the Forest. Whether you’re building, organizing your base, or unlocking advanced upgrades, having a hammer early on makes survival much smoother. Fortunately, there are a couple of reliable ways to get one.
Crafting a Hammer
The most common way to obtain a hammer is by crafting it at the Tool Workshop.
- Collect 5 logs and 5 scrap from around the forest.
- Locate a Tool Workshop, a structure marked with a large anvil silhouette.
- Interact with the crafting menu, select the hammer blueprint, and assemble it instantly if you have the materials.
This recipe is the standard method and gives you a basic hammer—enough for building, moving objects, and early game upgrades.
Unlocking a Hammer at Spawn
If you prefer to skip the crafting process, you can get a hammer right at the start of the game by selecting certain classes.
- Choosing the Decorator or Blacksmith class at spawn provides a hammer as part of your starter kit.
- This makes it easier to jump directly into organizing your shelter without worrying about resource gathering.
Advanced Hammers
While the basic hammer is simple to obtain, more powerful versions exist later in the game. These special hammers often require rare fragments or higher-tier crafting stations, but the regular hammer remains the essential tool for everyday survival and building.
What Can You Do with a Hammer?
Once equipped, the hammer lets you:
- Pick up and reposition most objects within your base.
- Organize your shelter layout for better efficiency.
- Access certain construction and upgrade options tied to specific classes or structures.
Quick Summary
| Method | Requirements | Location/Mechanic |
|---|---|---|
| Craft at Workshop | 5 logs, 5 scrap | Tool Workshop |
| Spawn Unlock | Decorator/Blacksmith | Spawn (class selection) |
With these methods, securing a hammer is quick and simple, helping you unlock the full potential of building and survival in 99 Nights in the Forest.


